Manuals for the other BCR Therapie products:
 |
 |
 |
How to Use

Contents
1. Modes of Application
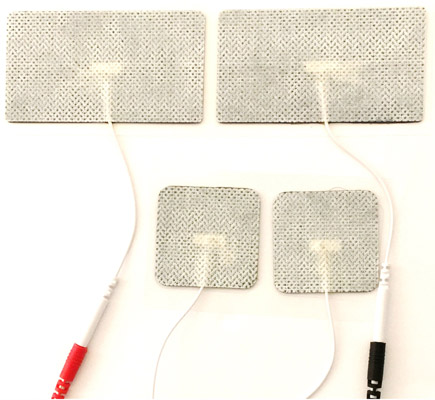
| Gel Electrode Pads
|
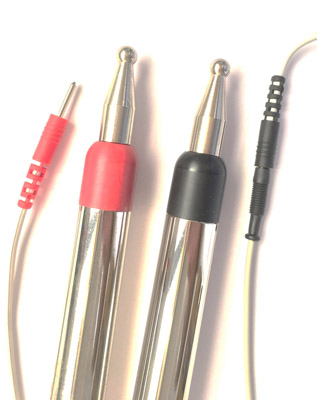
Hand Electrodes
|
2. Basics of Application
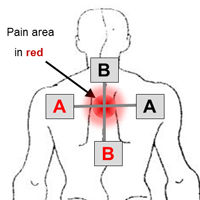 APPLYING THE ELECTRODE GEL PADS
When the application of the electrodes is complete, just select a program from the device that has the closest match to the condition you want to address, and start the treatment.
For normal applications you may use the ‘Electrode Placement Chart’ as a guide on how to apply the pads. It is however, not a rule to follow this chart always. You may improvise the pad placements based on the actual condition you want to treat. As long as the target area for treatment falls within the treatment cross you created with your pad placements, and you have chosen the closest matching program, the treatment will be effective.
It is useful to note that, in the case of pain problems, some pains are ‘referred pains’, meaning that the area where the pain is felt may not be the actual area of the underlying problem. Try to research, locate and treat the source for an effective result.
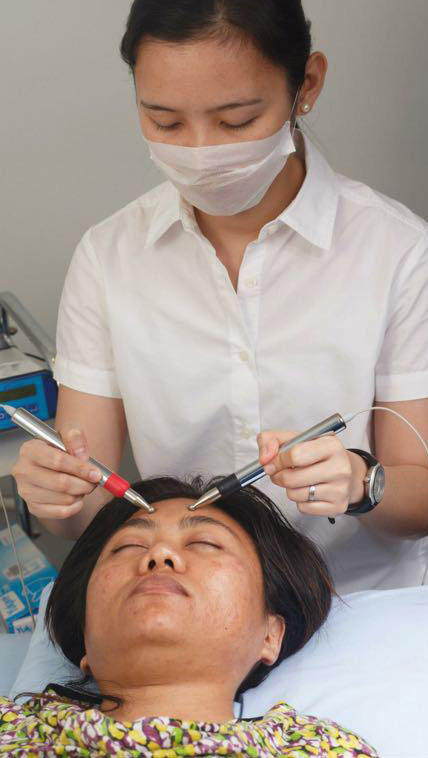 APPLYING HAND ELECTRODES
Connect the hand electrode to A-Channel always. Select the program and start the treatment. The application works only when the tips of both the electrodes are touching the skin. Gently move both the tips along the targeted area while keeping them on the skin. It is normal to feel a tingling feel. This feeling may sharpen when the tips are at same point in the skin in a stationary position. It is good to keep moving always. If there is too much friction, some water or a conductive gel may be applied to the skin for smoother gliding.
Although all programs run for 24 minutes, there is no fixed time for hand electrodes. Hand electrodes can be applied for as long as you feel comfortable, and repeated regularly for faster result. Often a short treatment of about one minute can have good results.
The usage of Hand Electrodes is most effective when treating problems at the skin level. This includes aesthetics, muscle treatment and scars. It can also be used on all other conditions.
Note: Please do NOT use oil-based gels as the electrical conductivity may be compromised.
3. Programs (working links coming soon)
| A BEAUTY 1 Acne/Scars 2 Cellulite 3 Face Toning 4 Skin Conditioning 5 Wrinkles B GENERAL HEALTH |
D INJURY HEALING 1 Bruise 2 Distortion 3 Fracture 4 Ligament Injury 5 Pulled Muscle 6 Tendon Irritation 7 Tendon Injury E PAIN F PALSY REHAB |
G SPORTS THERAPY 1 Contusion 2 Muscle Relaxation 3 Muscle Treatment 4 Tennis Elbow 5 Muscle Warm Up 6 Muscle Warm Down H WELLNESS |
